Playing in the snow during the winter can be a lot of fun. But, sometimes, being outside isn’t going to be a great idea. On cold or rainy days, staying inside might be a necessity, and you’ll need an option for keeping the kids entertained. That’s where fun winter crafts for kids come in.
Fun Winter Crafts for Kids
Crafting can be great for children. It encourages creativity and lets them see the results of their hard work in a tangible way. Plus, they might end up with a fun keepsake or decoration when they are done, making the experience extra special.
If you are looking for fun winter crafts for kids, here are four projects to consider.
1. Snow Globes
Many children are mesmerized by snow globes. That means, what could be more fun than creating a customized one of their own.
Making a snow globe is surprisingly simple. All you need is a jar with a lid, some “snow,” glue, water, and fun miniatures to place in the scene.
Usually, Mason jars with gasket lids are the best option. The rubber seal prevents leakage, and that’s important for a snow globe.
Once you have one, glue the ring and insert together. Next, you glue the miniature (make sure it’s waterproof) to the inside of the lid with a hot glue gun or other strong adhesive. Then, you’ll fill your jar with water or a mixture of water and Clear Elmer’s glue. If you use the mixture, it will take longer for the “snow” to settle.
After that, add your “snow” to the jar. Glitter can be a great option, as it shines when light hits it. Finally, carefully place your miniatures inside the jar and screw the lid shut. You can also hot glue the lid closed if you want to be extra safe.
Once everything’s in place, you have beautiful custom snow globes!
2. Paper Snowflakes
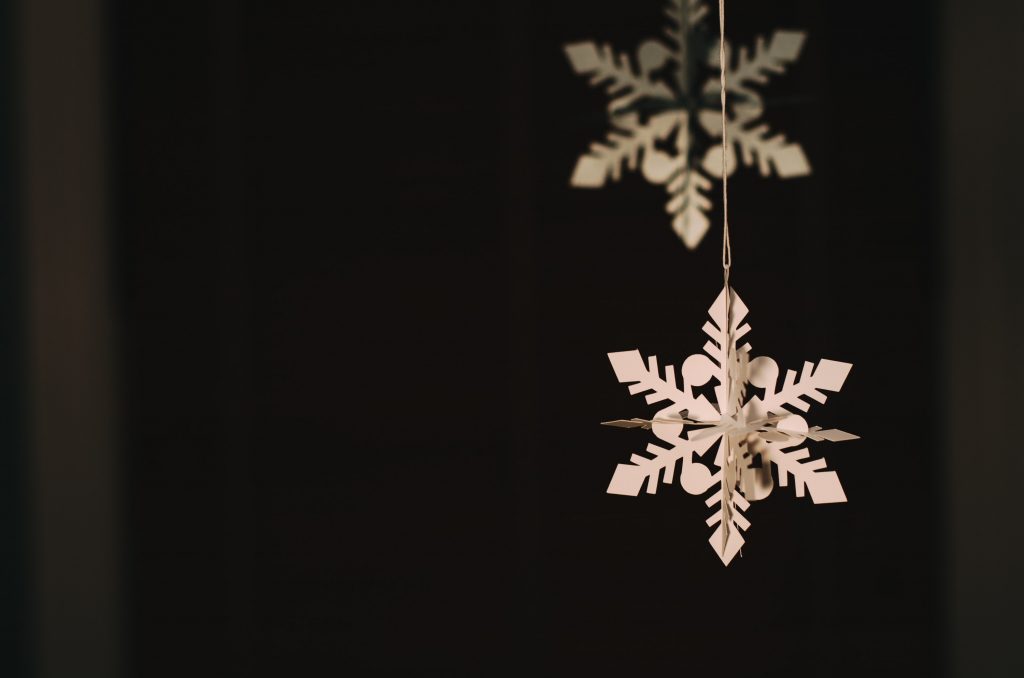
If you’re looking for a classic craft, paper snowflakes can be a great option. Every design will be unique, and unveiling each one after they are cut is always a fun surprise.
While you can certainly use regular sheets of paper, using coffee filters can be a great alternative. The material is thinner, so you can get in more folds. Plus, they are round naturally, which may make the snowflakes seem more authentic.
Just make sure to show your children which areas to cut. Give them guidance to make sure they don’t cut all the way through their snowflake.
3. No-Sew Sock Snowman
If you’ve ever wondered what to do with socks after their matches goes missing, consider turning then into a no-sew snowman. All you’ll need is a white sock, a colorful sock, rubber bands or heavy string, some buttons, a few orange mini pompoms, ribbon, rice, and some paint or markers.
Begin by filling the white sock with rice. You need to keep filling until it reaches the size you want your snowman to be, which, for many, will be about the size of a softball.
Tie the top with a rubber band or some string. Then, use another rubber band or piece of string just about the middle of the rice, forming the top into a head shape.
Glue buttons to the lower portion in a vertical line. Use paint for markers to draw the snowman’s face on the head, using two dots for the eyes and a series of dots for the mouth. Secure an orange mini pompom or two to the face to serve as the carrot nose.
Attach a piece of ribbon to work as a scarf. Next, cut the foot part (without the heal) off the colorful sock and roll up the open end a bit. Place it on the snowman’s head as a hat. That’s it!
4. Pinecone Bird Feeders
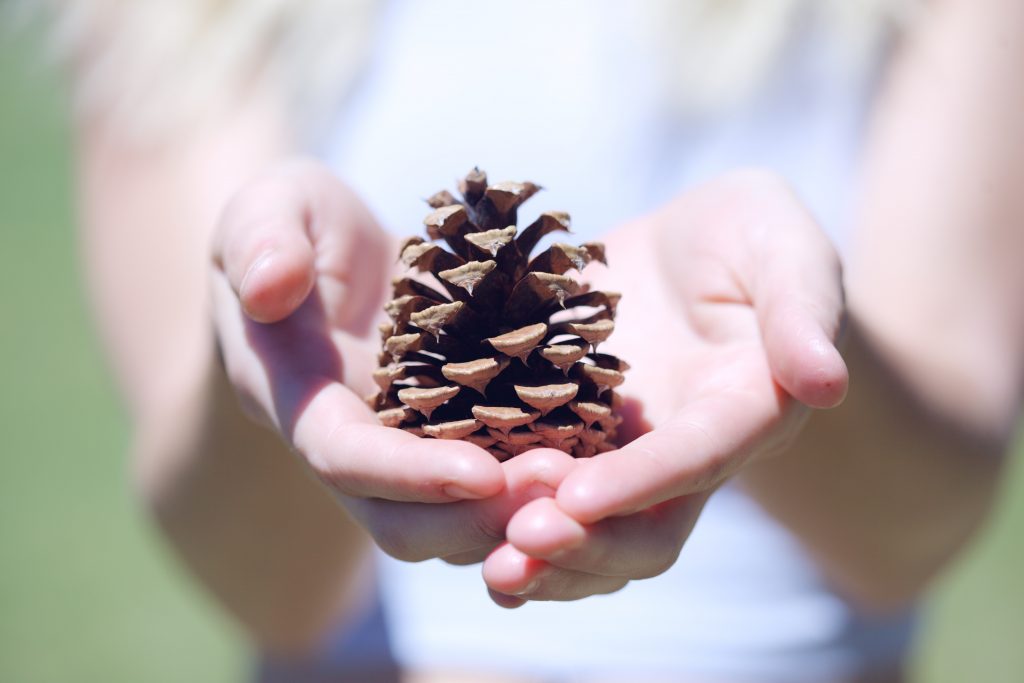
A fun winter craft that is great for local birds, pinecone bird feeders can be as fun to create as they are to enjoy once the birds come flying in. Plus, they are really easy to make.
First, you can head outside with your kids to gather up some pinecones. Ideally, you want larger ones as they will be a bit easier to handle. Once you have those in hand, it’s time to head back inside.
Take each pine cone and carefully cover it in peanut butter. You don’t have to cover every inch, but getting a good layer on the outer most areas is ideal.
Next, roll the peanut butter-covered pinecone in birdseed. The easiest way is to fill a casserole dish an inch or so deep. If it doesn’t hit every area, sprinkling or patting on the seeds can also work, but that may get a bit messier.
Then, take some twine or cotton string (preferably natural and biodegradable materials) and wrap it around the top. This gives you a way to hang the bird feeder.
Finally, head outside and choose a nice branch. Loop the string over the branch, and you’re done.
Bonus: Craft Kit Ideas
If you are looking for even more ideas, consider one of these fantastic beginner dollhouse kits. They are like three dimensional puzzles and provide a great way to work together creatively. If your children are younger, our list of other craft kit ideas might provide some inspiration.
Tips for Creating Winter Crafts with Kids
When you are crafting with children, things can get a bit tricky. Not all kids have the same attention span, manual dexterity, or interests as their peers.
If you want to make winter crafts with kids enjoyable, you need to make sure the options are age-appropriate as well as intriguing. Consider your child’s interests and choose a craft that corresponds with something that already captures their attention is within their capabilities. Otherwise, they might get bored or frustrated quickly.
Additionally, make safety a priority. You need to monitor the kids, especially if they are young and using certain potentially dangerous tools, like scissors or hot glue. Usually, if making winter crafts is a family affair, this won’t be an issue.


